


How to Fix Gaps in Laminate Flooring: Everything You Need to Know
Laminate floor can give a contemporary and stylish touch in every area of the house. However, as time passes you might begin to spot some inevitable space between each of the planks thus eliminating the natural flooring finish you desired. These gaps can be quite irritating but they are generally nothing out of the ordinary and the cause is more often than not, a simple fix. Now, I’ll try to explain why they occur and how to complete them, and also some tips to maintain the beautiful floors.
Order FREE Laminate Samples
Why Do Gaps Appear in Laminate Flooring?
Those spaces in the laminate flooring are normally caused by change in either temperature or humidity or both. Small gaps are observed especially when using heater in wintertime because when air is dry, the laminate shrinks. During warmer or humid months, it can grow in size, thus it is more useful during the cold seasons. That would be natural, but at the same time one has to realize that such constant shifting can definitely create gaps over time.
Another reason may be having a poor installation job done. If planks were not well interrelated or if the gaps around the edges of the room were not precise, it could wobble a little more than necessary and gaps that disrupt the sleek neatness you are aiming for.
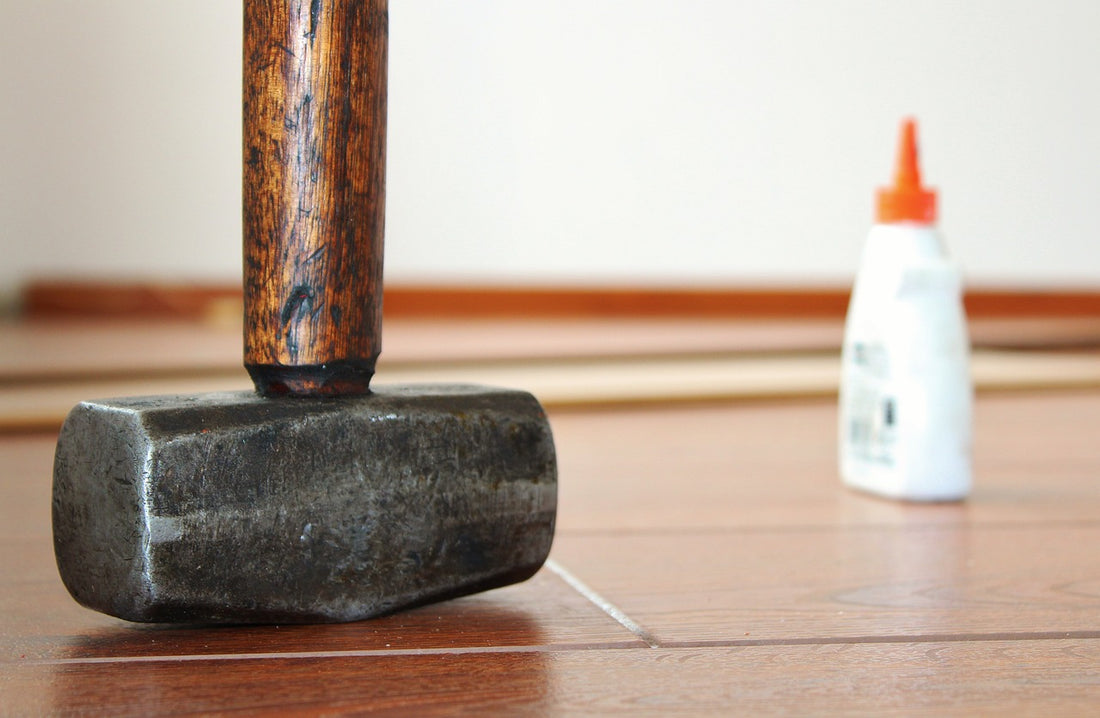
How Do You Fill Gaps in Laminate Flooring?
Filling these gaps is often a straightforward process that doesn’t require a lot of tools. Here’s a quick guide:
- Get Your Supplies: You’ll need wood filler or laminate repair paste that matches your floor colour, a putty knife, and a damp cloth.
- Clean Out the Gaps: Before you start, clear out any dust or debris from the gaps. A soft brush or vacuum can help reach those tight spaces.
- Apply the Filler: Carefully squeeze the filler or paste into the gap, then smooth it out with the putty knife. Wipe away any excess with a damp cloth.
- Let It Set: Allow the filler to dry completely. Once it’s dry, you’ll have a seamless, filled floor with no distracting gaps.
This method works well for small or moderate gaps. If you have larger gaps or ones that keep reappearing, you may need to shift the planks into place or consider reinstallation.
How to Fill Gaps in an Engineered Wood Floor
Effective technical and organizational tips on how to complete areas of an engineered wood floor.
Thus, engineered wood flooring can look quite similar to laminate but still require different repair. It has a natural wood layer, so it has increased sensitivity towards humidity and temperature, but it is relatively lower than laminate.
The process followed is somewhat similar to filling gaps here but requires HVLP to fill the gaps, using wood filler suited to wood finish.
- Choose a Quality Filler: Go for a filler specifically designed for wood and in a shade that matches your floor.
- Clean and Apply: Clear out the gap, then use a putty knife to press the filler firmly into the space, smoothing it to match the surrounding wood.
- Polish It Up: Once the filler is dry, you can buff the area lightly to blend it with the rest of the floor.
If gaps persist, it could be a sign that your subfloor or room humidity needs some attention to keep the flooring stable.
How Do You Hide an Expansion Gap in Laminate Flooring?
Margin gaps made around the periphery of the room enable the laminate to expand or contract with relative ease to moisture variation. Even though they are functional, some designs imply that, if left exposed, they could seem like they are incomplete. Here are a few ways to hide them:
Order FREE Laminate Samples
- Add Moulding or Skirting Boards: Installing moulding or skirting boards along the edges of the room covers the gaps and gives a polished look. Attach these to the wall, not the floor, so the laminate can still move as needed.
- Quarter-Round Trim: For a less bulky option, quarter-round trim can be painted or stained to match your walls or floor and offers a subtle, clean finish.
- Transition Strips for Doorways: Where the expansion gap runs along a doorway, a transition strip bridges the space between the laminate and other flooring, such as tile or carpet, giving a tidy look.
- Floor Tape or Sealant: For smaller gaps where trim isn’t an option, some use floor tape or a colour-matching sealant to fill the space discreetly.
There is nothing as annoying as noticing a gap under your laminate or engineered wood floors, this however doesn’t have to be a permanent problem. Knowing why they occur and applying small repairs can ensure the proper appearance of the flooring. A few coats of waxing and sand filling and you can maintain your floor in the condition it was when you had it installed.


